

There’s something inherently comforting about the combination of chocolate and peanut butter. This classic pairing evokes nostalgia and warmth, reminding many of us of childhood treats and family gatherings. Recently, I decided to try my hand at making Chocolate Peanut Butter Bars, a delightful confection that promised both simplicity and decadence. The results were nothing short of spectacular, and the bars quickly became a favorite in my household. My family, known for their discerning taste in desserts, couldn’t get enough. Each bite was met with expressions of delight and requests for seconds, solidifying this recipe as a staple in our dessert rotation.
Ingredients
Creating these Chocolate Peanut Butter Bars requires a handful of simple ingredients, many of which you might already have in your pantry. Here’s what you’ll need:
- 1 cup of unsalted butter, melted
- 2 cups of graham cracker crumbs
- 2 cups of powdered sugar
- 1 cup of creamy peanut butter
- 1 ½ cups of semi-sweet chocolate chips
- ¼ cup of peanut butter for the topping
Each of these components plays a crucial role in achieving the perfect texture and taste balance, from the crunchy base to the smooth, rich topping.
Instructions
The beauty of this recipe lies in its simplicity. With just a few steps, you can create a dessert that’s both impressive and delicious:
- Begin by preparing an 8×8-inch baking dish. Line it with parchment paper, ensuring the paper extends up the sides for easy removal later.
- In a large bowl, combine the melted butter, graham cracker crumbs, powdered sugar, and 1 cup of peanut butter. Stir until the mixture is well combined and resembles a thick dough.
- Press the mixture evenly into the prepared baking dish, creating a smooth, even layer.
- Melt the chocolate chips and ¼ cup of peanut butter together in a microwave-safe bowl. Heat in 30-second intervals, stirring in between, until the mixture is smooth and fully melted.
- Pour the melted chocolate mixture over the graham cracker crust, spreading it out evenly with a spatula.
- Refrigerate the bars for at least two hours, or until they are firm enough to cut into squares.
- Once set, remove the bars from the baking dish using the parchment paper and cut them into squares using a sharp knife.
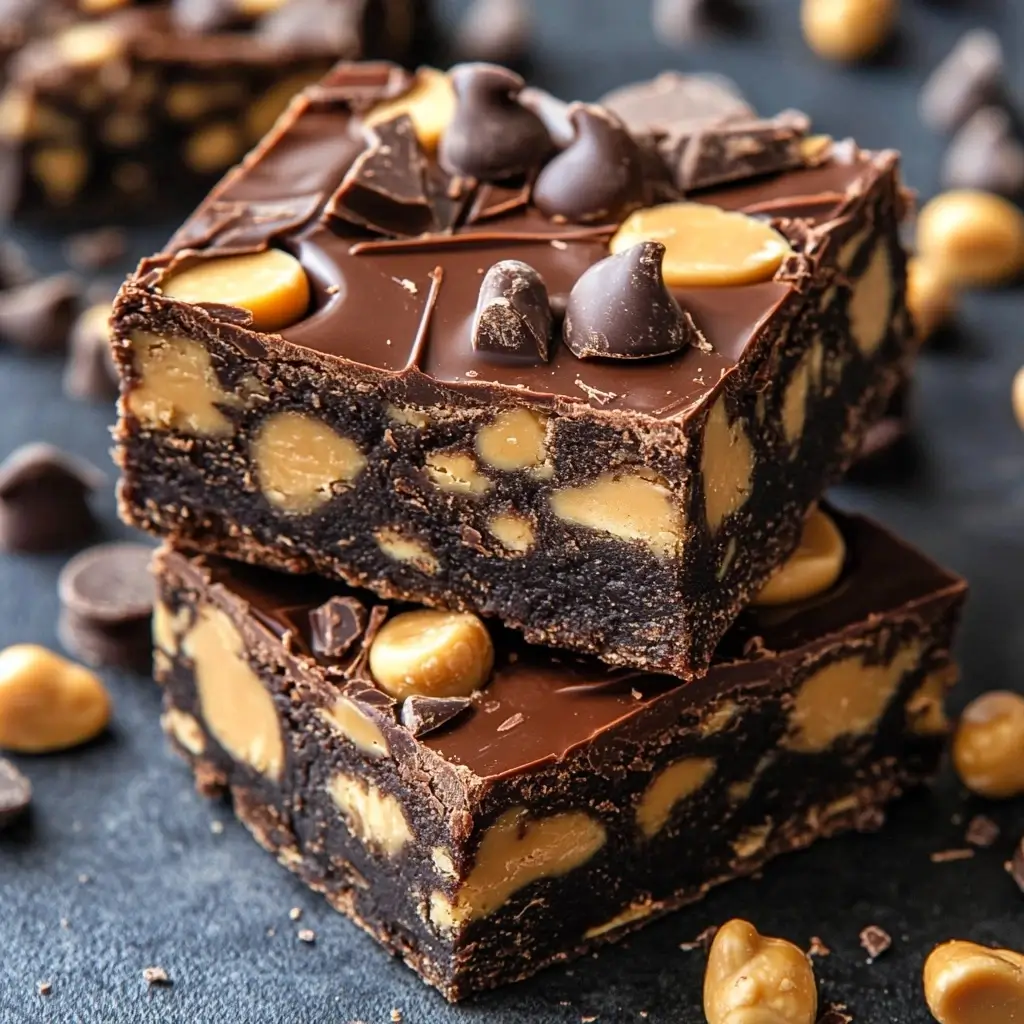
And just like that, your Chocolate Peanut Butter Bars are ready to serve! Their layered construction provides a satisfying bite, featuring a crunchy base and a smooth, chocolatey top.
Nutrition Facts
This recipe yields approximately 16 servings. Each serving contains around 250 calories, making it a rich yet reasonable treat for those who enjoy indulging in moderation. While these bars are undoubtedly delicious, they are best enjoyed as an occasional treat, given their decadent nature.
Preparation Time
One of the most appealing aspects of this recipe is its efficiency. From start to finish, you’ll need about 15 minutes of active preparation time. After that, simply allow the bars to chill and set for a couple of hours in the refrigerator. This makes them an excellent choice for busy days when you want to prepare something special without spending too much time in the kitchen.
How to Serve
These Chocolate Peanut Butter Bars are not only delicious but also incredibly versatile, making them suitable for various occasions and settings. Here are several creative ways to serve these delightful treats that will enhance your enjoyment and impress your guests:
As a Dessert
Presenting the bars as a dessert is a classic and appealing option. After a satisfying meal, arrange the chocolate peanut butter bars on a beautifully decorated platter, perhaps garnished with a dusting of powdered sugar or a drizzle of melted chocolate for an elegant touch. To elevate the experience, consider serving each bar alongside a scoop of creamy vanilla ice cream or a dollop of whipped cream. The contrast of temperatures and textures will delight your taste buds, creating a truly indulgent dessert experience. For a more sophisticated touch, add fresh berries or a sprig of mint for color and freshness.
At a Party
When hosting a gathering, these bars can be a fantastic addition to your spread of finger foods. Slice them into bite-sized squares and arrange them on a decorative plate or tiered stand, allowing guests to easily grab one as they mingle. Combine them with other sweet treats such as mini cupcakes, cookies, or fruit skewers for a well-rounded dessert table. You may also consider labeling the bars with fun, creative names or including a description of their ingredients to entice guests. The visual appeal of a well-curated dessert table can be just as important as the taste, so don’t hesitate to get creative with your presentation!
With Coffee
The rich, nutty flavors of these chocolate peanut butter bars make them a perfect companion for your favorite hot beverage. Whether it’s a steaming cup of coffee, a soothing herbal tea, or even a frothy cappuccino, the combination of flavors will enhance your afternoon break or post-dinner relaxation. For a cozy coffee shop vibe at home, consider serving the bars on a rustic wooden tray alongside your drinks, perhaps with a sprinkle of cocoa powder or cinnamon to add an aromatic touch. This pairing not only satisfies your sweet tooth but also provides a delightful balance to the bitterness of coffee or the soothing qualities of tea.
For Gifting
Homemade gifts carry a personal touch that store-bought items often lack, and these chocolate peanut butter bars make an excellent choice. To create a thoughtful gift, cut the bars into individual squares and wrap each one in cellophane or parchment paper. Tie them with a colorful ribbon or twine, and consider adding a small gift tag with a handwritten note. This simple yet elegant presentation can turn a delicious treat into a heartfelt gift for birthdays, holidays, or just because. For an extra touch, you might include a recipe card so the recipient can recreate this delightful dessert at home.
Picnic Treat
When planning a picnic or outdoor event, these chocolate peanut butter bars are an ideal sweet treat to pack. Their sturdy texture makes them easy to transport without worrying about them falling apart. Slice them into squares and place them in a container with a secure lid to keep them fresh. You could even layer them with parchment paper to prevent sticking. Pair these bars with fresh fruits, nuts, and refreshing beverages to create a balanced and enjoyable picnic spread. As you enjoy the great outdoors, these bars will be a crowd-pleaser, appealing to both kids and adults alike. Their rich flavors and satisfying texture will make them a standout treat, and you can bet they will disappear quickly!
In summary, these Chocolate Peanut Butter Bars offer a wide range of serving possibilities, ensuring they can fit seamlessly into any occasion. Whether you’re looking to impress at a dinner party, enjoy a cozy afternoon snack, or surprise a loved one with a thoughtful gift, these bars are sure to deliver satisfaction and delight.
Additional Tips
To ensure your Chocolate Peanut Butter Bars turn out perfectly every time, consider these comprehensive tips that will help you achieve the best results and enhance your baking experience:
1. Use Quality Chocolate
The taste of your Chocolate Peanut Butter Bars is significantly influenced by the quality of the chocolate you choose. For the richest flavor and smoothest texture, opt for high-quality semi-sweet chocolate chips or a baking chocolate that has at least 60% cocoa content. Brands like Ghirardelli, Callebaut, or Guittard are excellent choices. If you enjoy a deeper chocolate flavor, consider using dark chocolate or bittersweet chocolate for the topping. Always check the ingredients; a chocolate with minimal additives and a higher cocoa percentage will yield a more satisfying taste.
2. Adjust Sweetness to Your Preference
The sweetness of your bars can be adjusted to suit your personal taste. If you prefer a less sweet treat, you can reduce the amount of powdered sugar in the crust slightly. Start by decreasing the sugar by one tablespoon at a time and taste-testing the mixture before pressing it into the pan. Keep in mind that the chocolate topping will also contribute sweetness, so factor that in when adjusting the overall sugar content. For a more complex flavor profile, consider adding a pinch of sea salt to enhance the taste and balance the sweetness.
3. Peanut Butter Consistency Matters
The choice of peanut butter can greatly affect the texture of your bars. For a silky, smooth filling, use creamy peanut butter. Brands like Jif or Skippy work well, but for a more natural option, look for brands that contain only peanuts and salt. If you prefer a bit of crunch and texture, feel free to substitute with crunchy peanut butter. This can add a delightful contrast to the smooth chocolate layer. Additionally, if you have a nut allergy or are looking for alternatives, consider using sun butter or almond butter, though the flavor profile will change slightly.
4. Chill Time is Key
One of the most critical aspects of preparing Chocolate Peanut Butter Bars is allowing adequate chill time. After assembling the layers, place the bars in the refrigerator for at least 2 hours, or until they are firm to the touch. This chilling period is essential for two reasons: it helps the layers adhere properly, ensuring they don’t separate when cut, and it makes the bars easier to slice. For optimal results, cover the dish with plastic wrap or foil to prevent any odors from the refrigerator from affecting the flavor of the bars. If you’re in a hurry, you can place them in the freezer for about 30 minutes, but be cautious not to freeze them solid, as this will make cutting difficult.
5. Proper Storage for Freshness
To maintain the freshness and flavor of your Chocolate Peanut Butter Bars, store any leftovers in an airtight container in the refrigerator. They can typically last for up to a week, allowing you to enjoy them over several days. If you want to keep them for an extended period, these bars freeze exceptionally well. Wrap individual bars in plastic wrap and place them in a freezer-safe bag or container. When you’re ready to enjoy them, simply remove them from the freezer and allow them to thaw in the refrigerator for a few hours or at room temperature for a quicker option. This way, you can savor the deliciousness without worrying about them going stale.
6. Experiment with Add-Ins
For an extra layer of flavor and texture, consider incorporating additional ingredients into your bars. Chopped nuts, such as walnuts or pecans, can add a delightful crunch. Alternatively, you might consider adding a swirl of caramel or a layer of crushed graham crackers for a s’mores-inspired twist. Dried fruits, like cranberries or cherries, can also provide a burst of flavor that complements the chocolate and peanut butter beautifully. Just be sure to adjust the proportions slightly to maintain the integrity of the bar’s structure.
By following these tips, you can elevate your Chocolate Peanut Butter Bars, ensuring they are not only delicious but also visually appealing and perfectly textured. Happy baking!
FAQ Section
Here are some frequently asked questions about making Chocolate Peanut Butter Bars:
- Can I use natural peanut butter? Yes, you can use natural peanut butter, but be aware that it might separate more than processed peanut butter. Stir it well before using.
- What if I don’t have graham cracker crumbs? You can substitute with crushed digestive biscuits or shortbread cookies, which will provide a similar texture and flavor.
- Is there a way to make these bars gluten-free? Absolutely! Use gluten-free graham crackers or similar alternatives to make the recipe suitable for those with gluten sensitivities.
- Can I add extras like nuts or dried fruit? Certainly! You can mix in chopped nuts or dried fruit into the base mixture for added texture and flavor variety.
- How can I make the bars more festive? For a festive touch, consider sprinkling the chocolate layer with colorful sprinkles or edible glitter before it sets.
With these tips and tricks, you’re well on your way to making the perfect batch of Chocolate Peanut Butter Bars. Whether you’re a seasoned baker or a novice in the kitchen, this recipe is sure to impress and become a beloved favorite in your home.


