
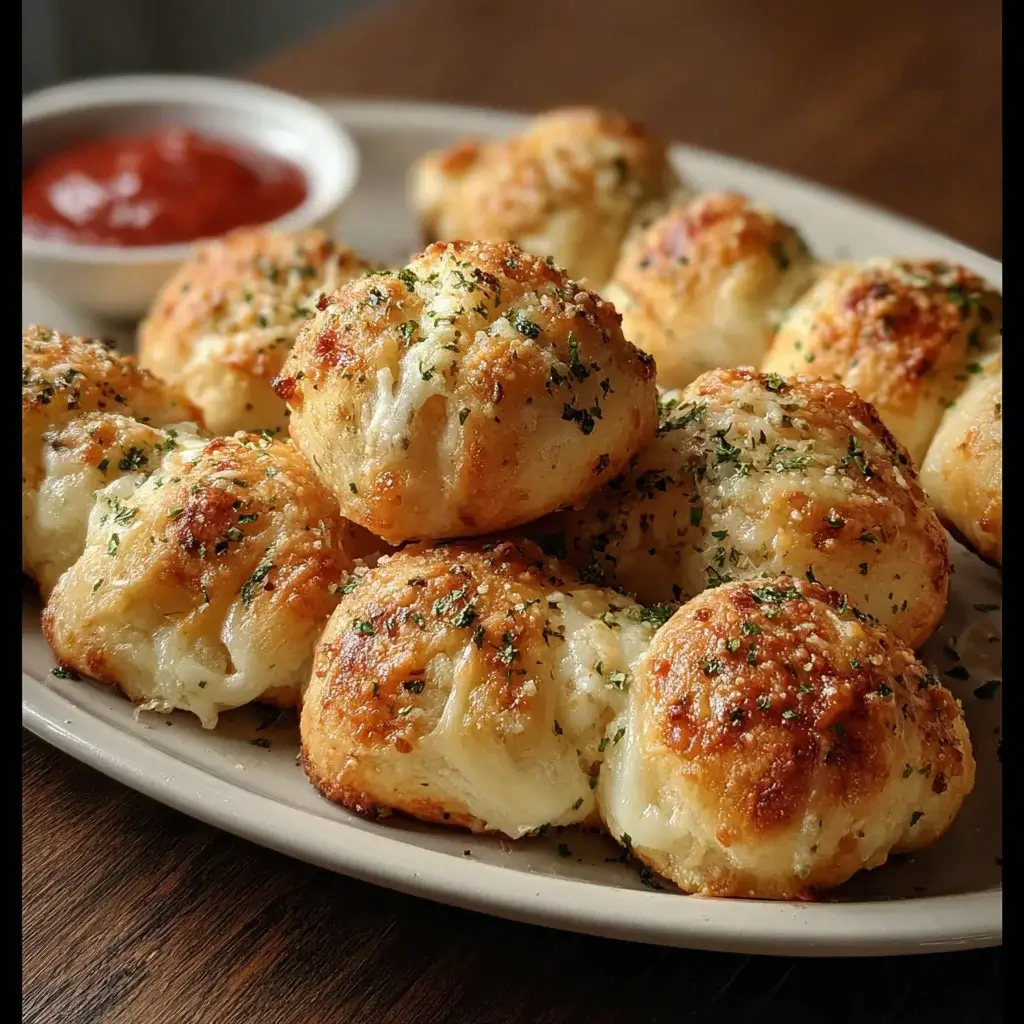

There are certain foods that just scream comfort, joy, and togetherness, and for my family, these Cheesy Garlic Knots are at the absolute top of that list. I still remember the first time I pulled a batch from the oven. The entire house was filled with the most intoxicating aroma imaginable—a warm, bready scent mingling with pungent garlic, rich butter, and toasted cheese. My kids came running into the kitchen, their eyes wide, before I even had a chance to set the baking sheet down. We didn’t even wait for plates. We stood around the kitchen island, pulling apart the hot, pillowy knots, marveling at the glorious, stringy cheese pull that stretched between our fingers. The dough was so soft it practically melted in our mouths, saturated with a garlic butter that was both potent and perfectly balanced, and topped with a golden, bubbly crust of mozzarella and Parmesan. It was messy, it was communal, and it was utterly perfect. Since that day, these knots have become a non-negotiable part of our pizza nights, our go-to appetizer for when guests come over, and the one thing everyone requests for movie marathons. They are more than just a recipe; they are a guaranteed way to bring everyone to the table with a smile.
The Anatomy of the Perfect Cheesy Garlic Knot
What transforms a simple piece of dough into an unforgettable culinary experience? It’s a combination of texture, flavor, and technique. This recipe has been meticulously developed to excel in every category, ensuring that your garlic knots aren’t just good—they’re legendary. Let’s break down the three core components that make this recipe a guaranteed success.
Pillow-Soft, Enriched Dough
The foundation of any great garlic knot is the dough. Forget dense, chewy, or dry bread; our goal is a texture that is light, airy, and incredibly soft. We achieve this by creating an “enriched dough.”
- Milk and Butter: Unlike simple pizza doughs that use only water, this recipe incorporates whole milk and unsalted butter. The fat from these ingredients shortens the gluten strands, resulting in a much more tender and delicate crumb. The milk also adds a subtle richness and helps the knots brown beautifully in the oven.
- A Touch of Sugar: The small amount of sugar in the dough isn’t just for sweetness. It serves a crucial purpose: it provides food for the yeast, helping it activate more vigorously for a better, faster rise. It also contributes to that perfect golden-brown crust.
- Proper Kneading and Rising: We’ll walk you through the process of kneading the dough to the perfect consistency—smooth, elastic, and slightly tacky. This develops the gluten structure just enough to give the knots their characteristic shape and slight chew, without making them tough. The double rise ensures the lightest, fluffiest texture possible.
A Potent, Flavor-Packed Garlic Butter
The soul of a garlic knot is its garlic butter. A weak, underwhelming sauce will result in a bland final product. This recipe’s garlic butter is designed for maximum flavor impact.
- Fresh is Best: We insist on using a generous amount of freshly minced garlic. Pre-minced jarred garlic or garlic powder simply cannot replicate the bright, pungent, and complex flavor of fresh cloves.
- Infusion, Not Burning: The technique is key. We gently melt the butter and allow the garlic and herbs to steep in it over low heat. This infuses the butter with a deep garlic flavor without the risk of it burning, which would create a bitter, acrid taste.
- A Symphony of Herbs: We use a classic combination of fresh parsley and dried oregano. The parsley adds a fresh, peppery brightness that cuts through the richness of the butter and cheese, while the oregano provides a classic, earthy Italian-American flavor that feels both nostalgic and delicious.
The Ultimate Gooey Cheese Topping
A garlic knot is great. A cheesy garlic knot is sublime. The choice and application of cheese are critical for achieving that coveted “cheese pull.”
- The Perfect Blend: We use a combination of low-moisture mozzarella and salty, nutty Parmesan. Low-moisture mozzarella is essential because it melts beautifully and delivers that iconic stretch without releasing excess water, which could make the knots soggy. The Parmesan cheese adds a sharp, savory depth of flavor and helps create a deliciously crisp and golden-brown top crust.
- Application is Everything: We don’t just sprinkle the cheese on top. The knots get a generous coating of garlic butter before and after baking. This ensures the flavor penetrates the dough, and the final post-bake brush allows the freshly grated Parmesan and parsley to cling to the hot, buttery surface, creating an irresistible final layer of flavor and aroma.
Ingredients for Irresistible Cheesy Garlic Knots
Gathering high-quality ingredients is the first step toward success. This recipe is divided into two main components: the dough and the cheesy garlic topping.
For the Soft Enriched Dough:
- Yeast: 2 1/4 teaspoons instant yeast (or 1 standard packet)
- Liquid: 1 cup whole milk, warmed to about 110°F (43°C)
- Sugar: 2 tablespoons granulated sugar
- Flour: 3 cups all-purpose flour, plus more for dusting
- Fat: 4 tablespoons unsalted butter, melted and slightly cooled
- Salt: 1 teaspoon kosher salt
- Egg: 1 large egg, at room temperature
For the Cheesy Garlic Topping:
- Butter: 1/2 cup (1 stick) unsalted butter
- Garlic: 5-6 cloves garlic, finely minced (about 2 tablespoons)
- Herbs: 2 tablespoons fresh parsley (finely chopped), plus more for garnish, and 1 teaspoon dried oregano
- Cheese: 1 cup shredded low-moisture mozzarella cheese and 1/4 cup grated Parmesan cheese
- Seasoning: 1/4 teaspoon crushed red pepper flakes (optional, for a little heat)
- Salt: 1/4 teaspoon kosher salt
Step-by-Step Instructions to Garlic Knot Glory
Follow these detailed instructions carefully. Making dough from scratch is a rewarding process, and taking your time with each step will guarantee a perfect result.
Part 1: Making the Dough
Step 1: Activate the Yeast
In the bowl of a stand mixer or a large mixing bowl, combine the warm milk, granulated sugar, and instant yeast. Give it a gentle whisk. Let the mixture sit for 5-10 minutes, until it becomes foamy and bubbly on top. This is called “proofing” and it ensures your yeast is alive and active. If it doesn’t foam, your yeast may be old or the milk may have been too hot or too cold; you’ll need to start over.
Step 2: Mix the Dough Ingredients
To the foamy yeast mixture, add the melted butter and the room temperature egg. Whisk to combine. Fit your stand mixer with the dough hook attachment. Add the 3 cups of flour and 1 teaspoon of kosher salt to the bowl. Turn the mixer on low speed and mix until a shaggy, cohesive dough begins to form.
Step 3: Knead the Dough
Increase the mixer speed to medium-low and knead the dough for 7-8 minutes. The dough should become smooth, elastic, and should pull away from the sides of the bowl. It will be slightly tacky to the touch but should not stick to your fingers excessively. If it’s too sticky, add flour one tablespoon at a time. If kneading by hand, turn the shaggy dough out onto a lightly floured surface and knead for 10-12 minutes, until smooth and elastic.
Step 4: The First Rise
Lightly grease a large bowl with oil or cooking spray. Form your dough into a smooth ball and place it in the bowl, turning it over once to coat the top with oil. Cover the bowl with plastic wrap or a clean kitchen towel. Place it in a warm, draft-free spot and let it rise for 60-90 minutes, or until it has doubled in size.
Part 2: Shaping and Baking the Knots
Step 5: Prepare the Garlic Butter
While the dough is rising, prepare your garlic butter. In a small saucepan, melt the 1/2 cup of unsalted butter over low heat. Add the minced garlic, dried oregano, and optional red pepper flakes. Let the mixture cook gently for 2-3 minutes, stirring constantly. You want to infuse the butter with the garlic flavor, not brown or burn the garlic. Remove from the heat and stir in the 2 tablespoons of chopped fresh parsley and 1/4 teaspoon of salt. Set aside.
Step 6: Shape the Knots
Once the dough has doubled, gently punch it down to release the air. Transfer the dough to a lightly floured surface. Roll or press the dough into a rectangle roughly 12×9 inches. Using a pizza cutter or a sharp knife, cut the rectangle into 12 long strips, each about 1 inch wide. Take one strip of dough and gently stretch it to about 10-11 inches long. Tie it into a simple knot, tucking the ends underneath. Place the knot on a large baking sheet lined with parchment paper. Repeat with the remaining 11 strips, placing them about 1-2 inches apart.
Step 7: The Second Rise
Gently brush the tops and sides of each knot with about half of the prepared garlic butter mixture. Cover the baking sheet loosely with plastic wrap and let the knots rise again in a warm place for 30-45 minutes, until they look puffy.
Step 8: Bake to Golden Perfection
Preheat your oven to 375°F (190°C). Once the knots have risen, remove the plastic wrap. Sprinkle the shredded mozzarella cheese evenly over the tops of the knots. Bake for 15-20 minutes, or until the tops are a deep golden brown and the cheese is melted and bubbly.
Step 9: The Finishing Touch
As soon as the knots come out of the oven, immediately brush them with the remaining garlic butter. The hot knots will soak it right up. Sprinkle with the grated Parmesan cheese and a little more fresh parsley for garnish. Serve immediately while warm and gooey.
Nutrition Facts
- Servings: 12 knots
- Calories per serving: Approximately 250-280 kcal
Disclaimer: This is an estimated nutritional value. Actual values may vary depending on the specific brands of ingredients used and exact portion sizes.
Preparation Time
- Active Time: 25 minutes (mixing, kneading, shaping)
- Inactive Rise Time: Approximately 1 hour 45 minutes
- Cook Time: 20 minutes
- Total Time: Approximately 2 hours 30 minutes
How to Serve Your Cheesy Garlic Knots
These knots are incredibly versatile. While fantastic on their own, they truly shine when paired with the right accompaniments.
- The Perfect Dips: Serving with a dip is a must.
- Classic Marinara Sauce: The timeless choice. The bright, acidic tomato sauce cuts through the richness of the butter and cheese.
- Creamy Alfredo Sauce: For an ultra-decadent and rich pairing.
- Pesto: The fresh, basil-forward flavor of pesto offers a vibrant and delicious contrast.
- Garlic and Herb Dip: A creamy, ranch-style dip infused with extra garlic and herbs is always a crowd-pleaser.
- As a Side Dish: Elevate your main course.
- With Pasta: Serve alongside a big bowl of spaghetti and meatballs or lasagna to sop up every last bit of sauce.
- With Soup: A perfect companion for a hearty tomato soup, minestrone, or a creamy chicken noodle soup.
- With Salad: Balance a large, fresh Caesar or garden salad to create a complete and satisfying meal.
- As the Star Appetizer:
- Arrange them on a platter for a party or game day. They are the ultimate shareable, pull-apart appetizer that will disappear in minutes.
Additional Tips for Ultimate Success
- Don’t Rush the Rise: The most common mistake in bread making is not giving the dough enough time to rise. The “doubled in size” visual cue is more important than the time listed in the recipe. A warm (but not hot) spot, like a slightly warm oven that is turned off, can help speed up the process on a cold day.
- Use Room Temperature Ingredients: For the best dough, ensure your egg and milk (before warming) are at room temperature. Cold ingredients can shock and slow down the yeast, leading to a sluggish rise and a denser final product.
- Shortcut with Store-Bought Dough: If you’re short on time, you can absolutely make this recipe with store-bought pizza dough. One 1-pound ball of dough is perfect. Let the dough come to room temperature for about 30 minutes before you try to roll it out, then proceed with Step 6. The texture will be slightly chewier, more like a pizza crust, but still incredibly delicious.
- Make-Ahead and Freezing Instructions: You can prepare the dough through Step 4 (the first rise). After punching it down, wrap it tightly in plastic wrap and refrigerate for up to 3 days. Alternatively, you can freeze the shaped, unbaked knots. Place them on the baking sheet and freeze until solid, then transfer to a freezer bag for up to 3 months. Let them thaw and rise at room temperature before baking as directed.
- Go Big on Garlic (and Cheese!): Don’t be shy with the toppings. This recipe is designed to be indulgent. Feel free to add an extra clove of garlic if you’re a true garlic lover, or experiment with different cheeses like a provolone or asiago blend for a different flavor profile.
Frequently Asked Questions (FAQ)
1. Why didn’t my dough rise?
This is the most common issue in yeast baking. There are a few likely culprits: 1) Your yeast was expired or no longer active. 2) Your milk was too hot (over 120°F) and killed the yeast. 3) Your milk was too cold and the yeast didn’t activate properly. 4) The room you were rising the dough in was too cold. Always check the expiration date on your yeast and use a thermometer to check your milk temperature for foolproof results.
2. Can I use garlic powder instead of fresh garlic?
You can in a pinch, but the flavor will be significantly different. Fresh garlic has a sharp, pungent flavor that mellows as it infuses the butter, while garlic powder has a flatter, more one-dimensional taste. If you must use it, substitute the 5-6 cloves of fresh garlic with about 1 1/2 teaspoons of garlic powder.
3. How do I store and reheat leftover garlic knots?
Store any leftovers in an airtight container at room temperature for up to 2 days, or in the refrigerator for up to 4 days. To reheat and bring them back to their former glory, place them on a baking sheet and warm them in a 350°F (175°C) oven for 5-7 minutes, until they are heated through and the cheese is re-melted. Avoid the microwave, as it can make them tough and chewy.
4. My garlic knots came out dense and tough. What went wrong?
Tough knots are usually the result of a problem with the dough. The most common cause is adding too much flour during the kneading process. The dough should be soft and slightly tacky. Over-kneading the dough can also overdevelop the gluten, making it tough. Stick to the recommended kneading times. Finally, not letting the dough rise long enough can also result in a denser, less airy texture.
5. Can I make these vegan or dairy-free?
Yes, you can make substitutions to create a dairy-free version. Use an unsweetened plant-based milk like almond or soy milk instead of whole milk. Replace the unsalted butter with a high-quality vegan butter substitute in both the dough and the topping. For the cheese, use your favorite brand of shredded vegan mozzarella and a sprinkle of nutritional yeast instead of Parmesan for a cheesy, savory flavor. Omit the egg or use a vegan egg replacer according to package directions.

Cheesy Garlic Knots Recipe
Ingredients
For the Soft Enriched Dough:
-
Yeast: 2 1/4 teaspoons instant yeast (or 1 standard packet)
-
Liquid: 1 cup whole milk, warmed to about 110°F (43°C)
-
Sugar: 2 tablespoons granulated sugar
-
Flour: 3 cups all-purpose flour, plus more for dusting
-
Fat: 4 tablespoons unsalted butter, melted and slightly cooled
-
Salt: 1 teaspoon kosher salt
-
Egg: 1 large egg, at room temperature
For the Cheesy Garlic Topping:
-
Butter: 1/2 cup (1 stick) unsalted butter
-
Garlic: 5-6 cloves garlic, finely minced (about 2 tablespoons)
-
Herbs: 2 tablespoons fresh parsley (finely chopped), plus more for garnish, and 1 teaspoon dried oregano
-
Cheese: 1 cup shredded low-moisture mozzarella cheese and 1/4 cup grated Parmesan cheese
-
Seasoning: 1/4 teaspoon crushed red pepper flakes (optional, for a little heat)
-
Salt: 1/4 teaspoon kosher salt
Instructions
Part 1: Making the Dough
Step 1: Activate the Yeast
In the bowl of a stand mixer or a large mixing bowl, combine the warm milk, granulated sugar, and instant yeast. Give it a gentle whisk. Let the mixture sit for 5-10 minutes, until it becomes foamy and bubbly on top. This is called “proofing” and it ensures your yeast is alive and active. If it doesn’t foam, your yeast may be old or the milk may have been too hot or too cold; you’ll need to start over.
Step 2: Mix the Dough Ingredients
To the foamy yeast mixture, add the melted butter and the room temperature egg. Whisk to combine. Fit your stand mixer with the dough hook attachment. Add the 3 cups of flour and 1 teaspoon of kosher salt to the bowl. Turn the mixer on low speed and mix until a shaggy, cohesive dough begins to form.
Step 3: Knead the Dough
Increase the mixer speed to medium-low and knead the dough for 7-8 minutes. The dough should become smooth, elastic, and should pull away from the sides of the bowl. It will be slightly tacky to the touch but should not stick to your fingers excessively. If it’s too sticky, add flour one tablespoon at a time. If kneading by hand, turn the shaggy dough out onto a lightly floured surface and knead for 10-12 minutes, until smooth and elastic.
Step 4: The First Rise
Lightly grease a large bowl with oil or cooking spray. Form your dough into a smooth ball and place it in the bowl, turning it over once to coat the top with oil. Cover the bowl with plastic wrap or a clean kitchen towel. Place it in a warm, draft-free spot and let it rise for 60-90 minutes, or until it has doubled in size.
Part 2: Shaping and Baking the Knots
Step 5: Prepare the Garlic Butter
While the dough is rising, prepare your garlic butter. In a small saucepan, melt the 1/2 cup of unsalted butter over low heat. Add the minced garlic, dried oregano, and optional red pepper flakes. Let the mixture cook gently for 2-3 minutes, stirring constantly. You want to infuse the butter with the garlic flavor, not brown or burn the garlic. Remove from the heat and stir in the 2 tablespoons of chopped fresh parsley and 1/4 teaspoon of salt. Set aside.
Step 6: Shape the Knots
Once the dough has doubled, gently punch it down to release the air. Transfer the dough to a lightly floured surface. Roll or press the dough into a rectangle roughly 12×9 inches. Using a pizza cutter or a sharp knife, cut the rectangle into 12 long strips, each about 1 inch wide. Take one strip of dough and gently stretch it to about 10-11 inches long. Tie it into a simple knot, tucking the ends underneath. Place the knot on a large baking sheet lined with parchment paper. Repeat with the remaining 11 strips, placing them about 1-2 inches apart.
Step 7: The Second Rise
Gently brush the tops and sides of each knot with about half of the prepared garlic butter mixture. Cover the baking sheet loosely with plastic wrap and let the knots rise again in a warm place for 30-45 minutes, until they look puffy.
Step 8: Bake to Golden Perfection
Preheat your oven to 375°F (190°C). Once the knots have risen, remove the plastic wrap. Sprinkle the shredded mozzarella cheese evenly over the tops of the knots. Bake for 15-20 minutes, or until the tops are a deep golden brown and the cheese is melted and bubbly.
Step 9: The Finishing Touch
As soon as the knots come out of the oven, immediately brush them with the remaining garlic butter. The hot knots will soak it right up. Sprinkle with the grated Parmesan cheese and a little more fresh parsley for garnish. Serve immediately while warm and gooey.
Nutrition
- Serving Size: one normal portion
- Calories: 250-280


