

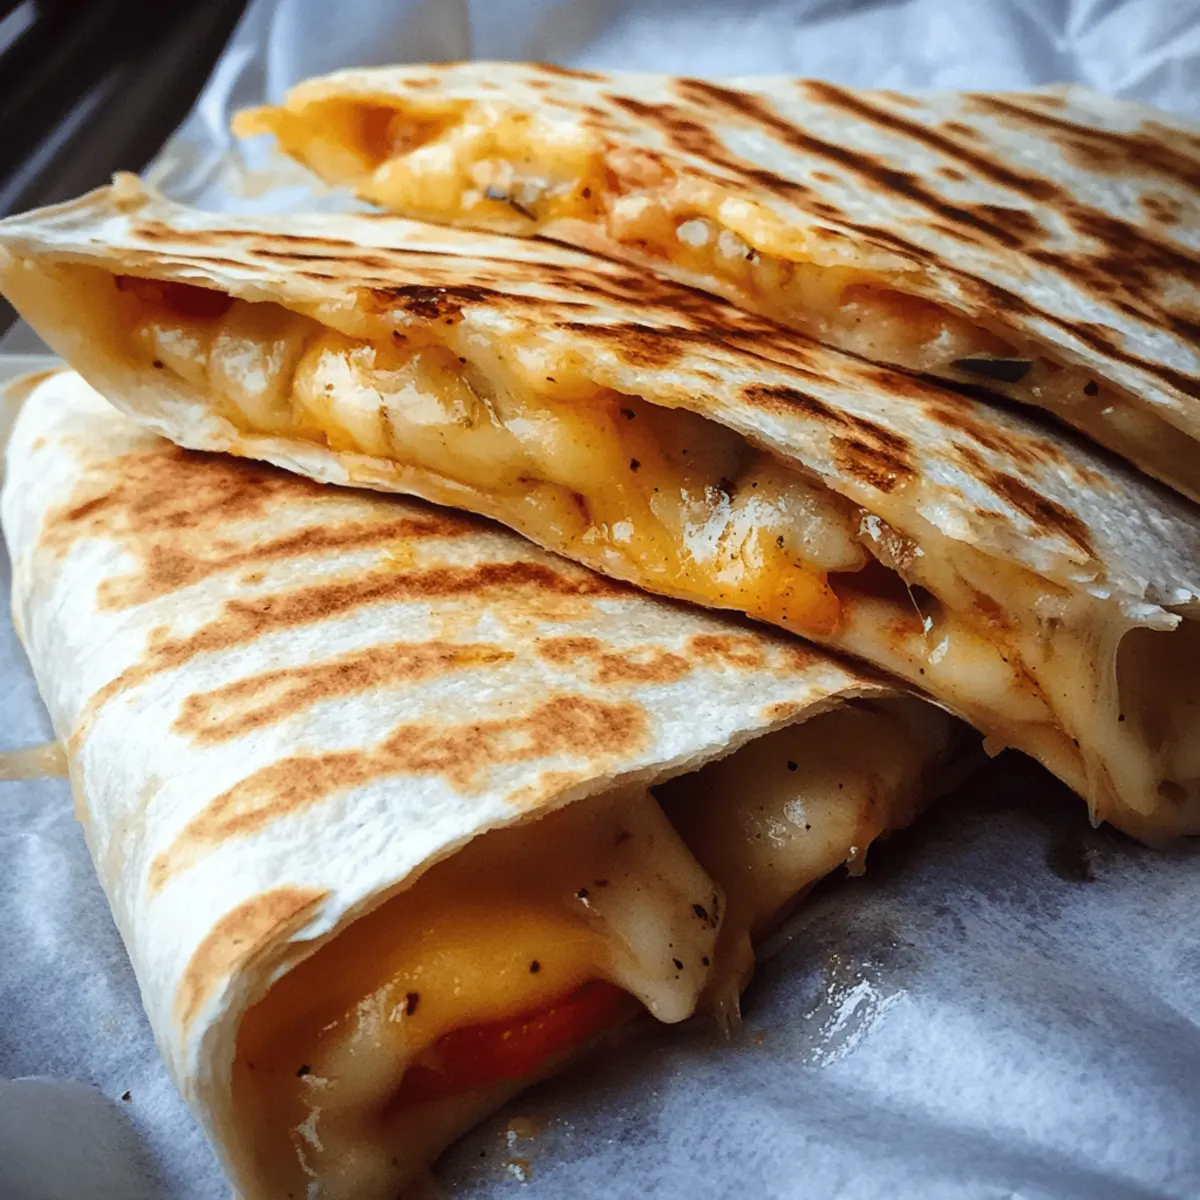
There’s something utterly satisfying about the gooey stretch of melted cheese as you pull apart a perfectly crisped quesadilla. After a long day craving comfort food without the hassle, I found myself craving a simple, cheesy dish that could be whipped up in minutes — enter cheesy quesadillas. This recipe is my go-to for when I want something indulgent yet effortless, a crowd-pleaser that transforms humble tortillas and cheese into a warm, melty masterpiece. Whether you’re a seasoned chef or someone tired of the same old fast food, these cheesy quesadillas strike the perfect balance of crispy, cheesy, and downright irresistible every single time.
Why choose Cheesy Quesadillas today?
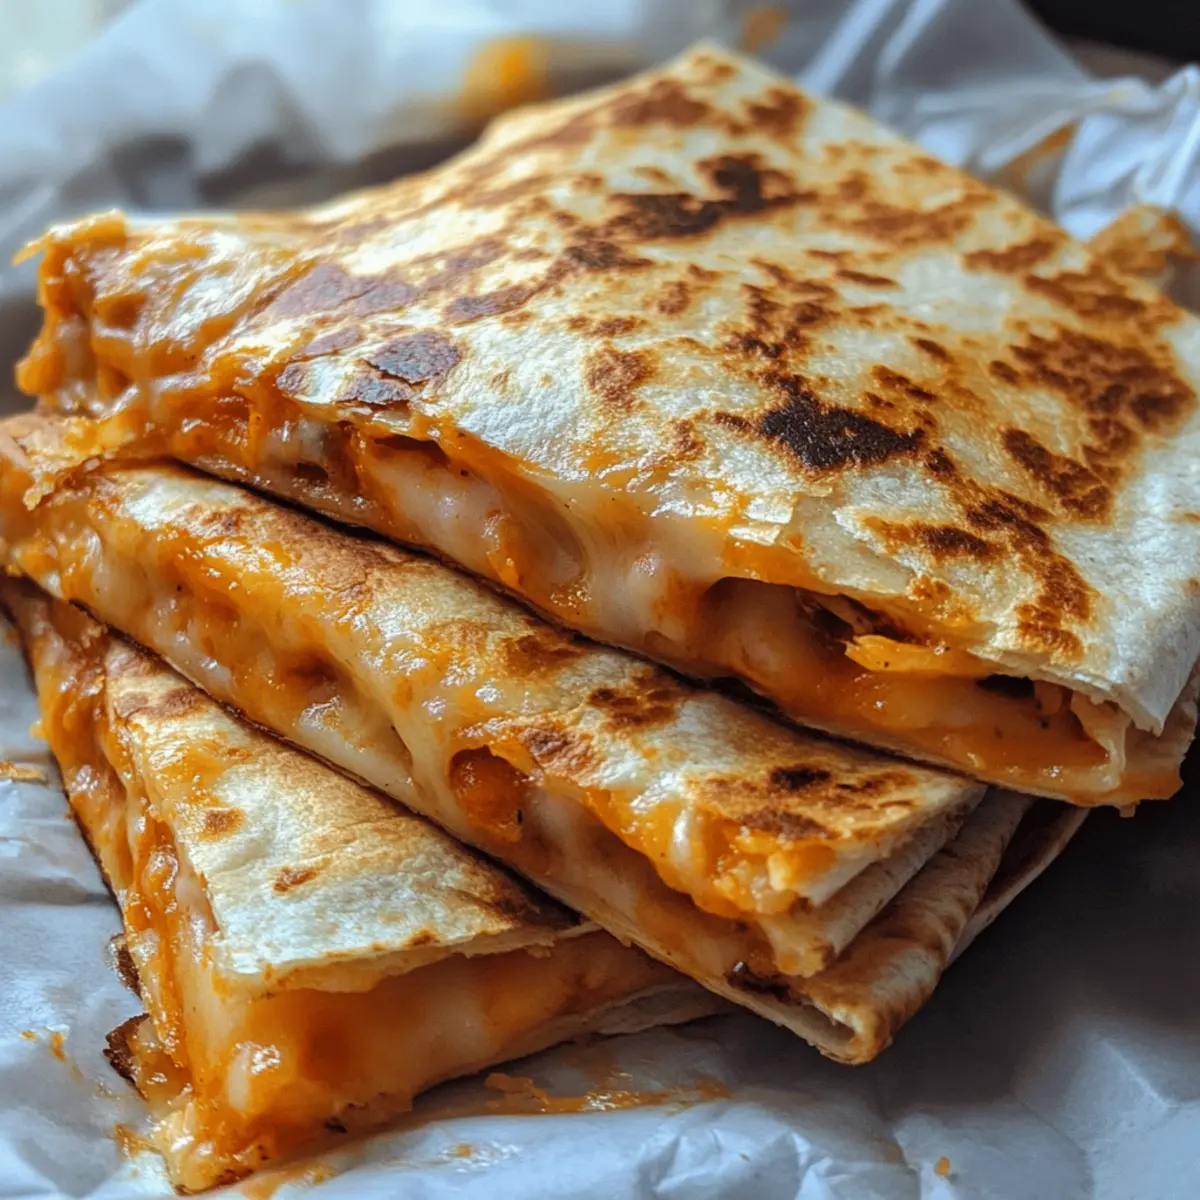
Quick and Easy: This recipe requires minimal ingredients and comes together in under 15 minutes, perfect for busy days. Mouthwatering Cheese Pull: Experience that satisfying, gooey stretch of perfectly melted cheese in every bite. Versatile Crowd-Pleaser: Customize with your favorite fillings or keep it classic for universal appeal. Crispy Perfection: The golden, toasted tortilla adds the perfect crunch to contrast the creamy inside. Comfort Food Fix: Say goodbye to boring fast food and hello to homemade indulgence that feels special yet simple.
Cheesy Quesadillas Ingredients
For the Quesadilla Base
- Flour tortillas – Use medium-sized tortillas for perfect folding and even cooking.
- Shredded cheese – Opt for a blend like cheddar and Monterey Jack for a melty, flavorful cheesy quesadillas experience.
Optional Fillings
- Cooked chicken – Adds protein and makes it a hearty meal.
- Sliced jalapeños – For a spicy kick that brightens up every bite.
- Sautéed onions and bell peppers – Bring sweetness and crunch to your quesadilla.
For Serving
- Sour cream – Cool and creamy, the perfect dip to balance the warm, melty inside.
- Fresh salsa – Adds freshness and zesty flavor to every cheesy quesadillas bite.
How to Make Cheesy Quesadillas
- Heat Pan: Preheat a large nonstick skillet over medium heat for 2 minutes until it’s warm and lightly shimmering. This ensures even golden browning on your quesadillas.
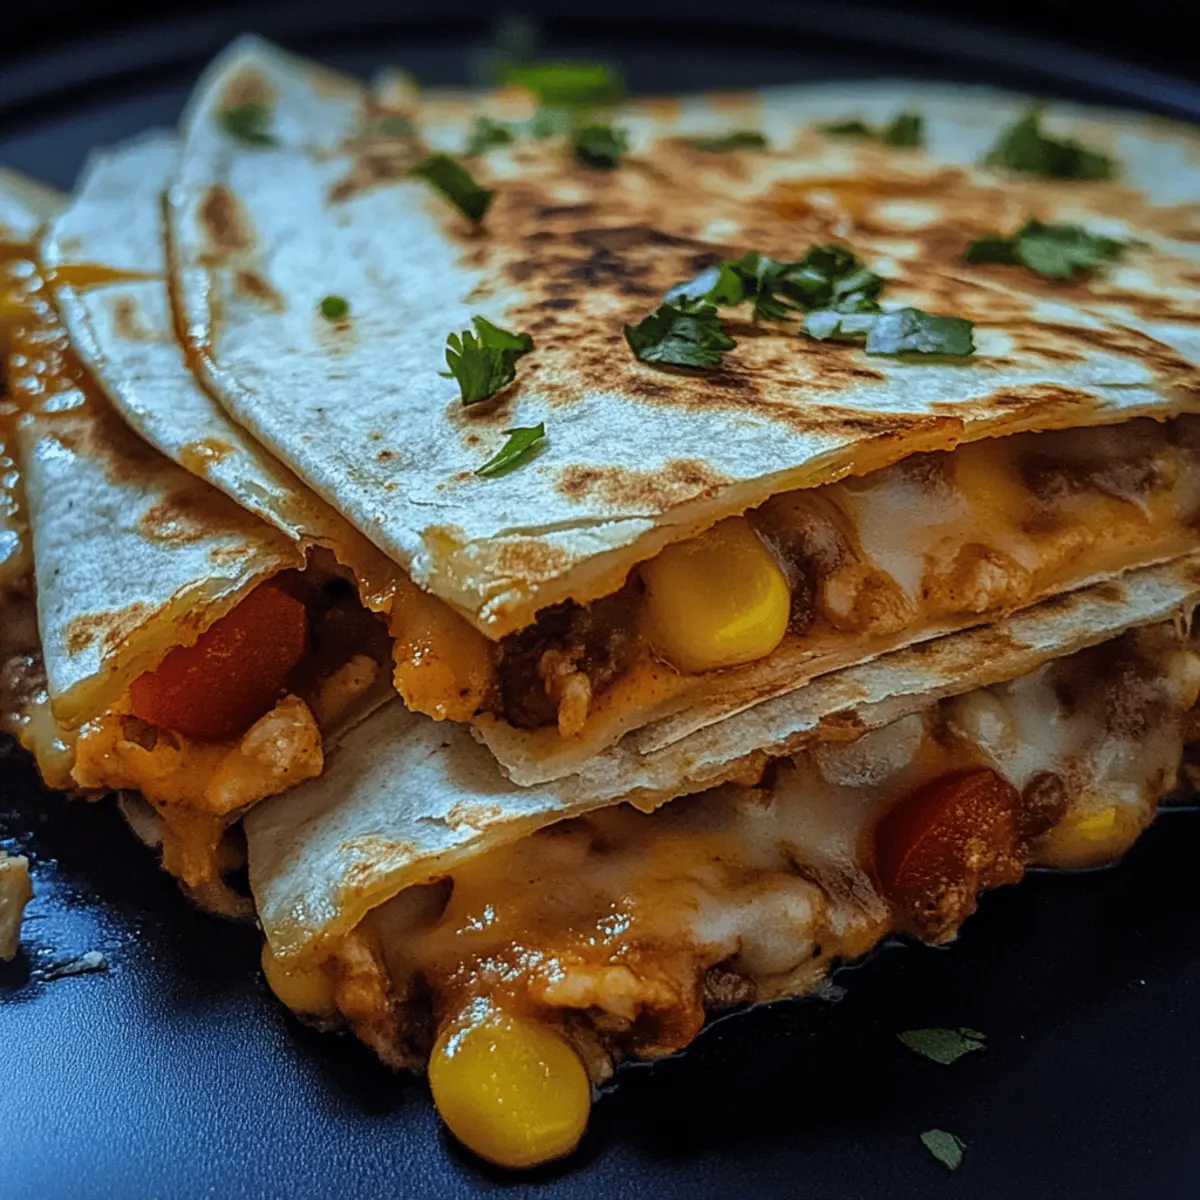
- Layer Ingredients: Arrange half a cup of shredded cheese evenly on one side of each tortilla, add optional chicken, jalapeños, peppers, leaving a ¼-inch border for easy folding.
- Fold Tortilla: Carefully fold each tortilla in half so cheese and fillings are enclosed, pressing edges with a spatula to seal. Ensure no filling escapes while cooking.
- Cook Quesadillas: Place folded tortillas in the skillet, cook 2-3 minutes per side until golden brown and crisp. Flip gently to avoid spilling melted cheese.
- Rest & Slice: Transfer cooked quesadillas to a cutting board, let them rest 1 minute for easier slicing, then cut into wedges with a sharp knife.
Optional: Top with chopped cilantro or a squeeze of lime juice for extra brightness.
Exact quantities are listed in the recipe card below.
What to Serve with Cheesy Quesadillas?
Cheesy quesadillas alone are a delight, but pairing them with complementary sides can elevate this comfort food experience!
-
Fresh Guacamole: Creamy avocados provide a rich, refreshing contrast, adding a burst of flavor to every cheesy bite.
-
Mexican Rice: Fluffy, seasoned rice perfectly absorbs any dips, creating a satisfying and hearty meal.
-
Crispy Tortilla Chips: Their salty crunch makes for a delightful texture contrast—perfect for scooping up excess cheese or salsa!
-
Zesty Black Bean Salad: This adds a fresh, protein-packed element, with flavors that balance the richness of the quesadillas.
-
Cool and Creamy Sour Cream: A dollop balances the warmth of the quesadillas, enhancing each bite with creamy indulgence.
-
Cilantro Lime Slaw: The crunchy veggies and zesty dressing add brightness, complementing the melted cheese harmoniously.
Imagine gathering your loved ones around the table, enjoying the delightful flavors and textures that these pairings add to your cheesy quesadilla experience.
Expert Tips for Cheesy Quesadillas
- Use Fresh Cheese: Choose freshly shredded cheese for better melting and a gooier, more flavorful cheesy quesadillas experience. Pre-shredded cheese often contains additives that hinder melting.
- Moderate Heat: Cook quesadillas on medium heat to achieve crispy tortillas without burning before the cheese melts fully inside. Too high heat risks a crunchy outside and unmelted cheese.
- Even Cheese Layer: Spread cheese evenly across the tortilla to ensure every bite is delectably melty; clumps can cause uneven cooking or leaks.
- Seal Edges Well: Press edges firmly when folding to keep fillings contained and prevent messy cheese spills while cooking.
- Rest Before Cutting: Let quesadillas rest briefly after cooking to let the cheese set slightly, making slicing neater and easier.
- Customize Wisely: Add flavorful but dry fillings like cooked chicken or sautéed veggies to avoid sogginess and keep your cheesy quesadillas crisp.
How to Store and Freeze Cheesy Quesadillas
Room Temperature: Enjoy cheesy quesadillas right away for the best taste and texture; if left out, consume within 2 hours.
Fridge: Store any leftover cheesy quesadillas in an airtight container for up to 3 days; reheat them on a skillet to restore crispiness.
Freezer: For longer storage, wrap individual quesadillas in plastic wrap and place them in a freezer-safe bag for up to 2 months; thaw in the fridge before reheating.
Reheating: To reheat, warm on a skillet over medium heat for about 3–4 minutes per side or use an oven at 350°F until heated through, ensuring that melty cheese is back in action!
Cheesy Quesadilla Variations
Ready to take your cheesy quesadillas to the next level? Let your culinary creativity shine!
-
Dairy-Free: Swap shredded cheese for dairy-free cheese alternatives, ensuring a rich, melty experience without the dairy.
-
Gluten-Free: Use corn tortillas instead of flour to create a delightful gluten-free option, maintaining that fantastic quesadilla crunch.
-
Veggie-Packed: Add sautéed spinach, mushrooms, or zucchini for a veggie twist that increases flavor and nutrition. These additions bring a lovely freshness.
-
Spicy Kick: Incorporate pepper jack cheese or fresh serrano peppers for a spicy burst in every bite. This variation is perfect for heat lovers!
-
BBQ Chicken: Mix shredded chicken with barbecue sauce for a tangy twist that pairs beautifully with melting cheese. This flavor will transport you to a summer cookout.
-
Breakfast Style: Include scrambled eggs and crumbled bacon or sausage for a hearty breakfast quesadilla that’s perfect any time of day.
-
Sweet and Savory: Add thin slices of apple or pear for a sweet contrast to the savory cheese. Pair this with a drizzle of honey for an unexpected delight.
-
Mediterranean Flavor: Use feta cheese, olives, and sun-dried tomatoes to create a Mediterranean-inspired quesadilla that’s packed with zesty flavors. This option feels like a vacation on your plate.
Make Ahead Options
These Cheesy Quesadillas are perfect for meal prep enthusiasts! You can easily prepare your fillings up to 24 hours in advance. Simply sauté your onions and bell peppers, and mix them with cooked chicken or jalapeños, storing them in an airtight container in the fridge. This way, you have everything ready to go when you’re short on time. When you’re ready to enjoy your quesadillas, just heat your skillet, layer the cheese and prepped fillings on the tortillas, and cook according to the recipe. This approach allows you to maintain that mouthwatering cheese pull and crispy tortilla quality, all while saving you precious time during busy weeknights!

Best Cheesy Quesadillas Ever: Melty, Gooey, and Irresistible Recipe FAQs
How do I choose the best cheese for making cheesy quesadillas?
I recommend using freshly shredded cheese like a cheddar and Monterey Jack blend for that perfect melt and flavor. Avoid pre-shredded cheese, as it often contains anti-caking agents that prevent gooey melting.
What’s the best way to store leftover cheesy quesadillas?
Store leftover quesadillas in an airtight container in the fridge for up to 3 days. To keep them crispy when reheating, use a skillet over medium heat rather than a microwave.
Can cheesy quesadillas be frozen? If so, how?
Absolutely! Wrap each quesadilla tightly in plastic wrap, then place them in a freezer-safe bag. Freeze for up to 2 months. When ready to eat, thaw overnight in the fridge, then reheat on a skillet or in the oven to restore that crispy, melty goodness.
My quesadillas sometimes get soggy—how can I fix that?
Try using drier fillings like cooked chicken or sautéed veggies instead of watery ingredients. Also, cook over moderate heat to crisp the tortilla while melting the cheese inside. Don’t forget to seal the edges well to prevent leaks and sogginess!
Are cheesy quesadillas safe for pets or people with dairy allergies?
Cheesy quesadillas are definitely not suitable for pets or anyone with a dairy allergy due to the melted cheese. For allergy-friendly versions, consider using dairy-free cheese alternatives or skip the cheese and add flavorful veggies instead!
Best Cheesy Quesadillas Ever: Melty, Gooey, and Irresistible
Ingredients
Equipment
Method
- Preheat a large nonstick skillet over medium heat for 2 minutes until warm and lightly shimmering.
- Arrange half a cup of shredded cheese evenly on one side of each tortilla, add optional fillings, leaving a ¼-inch border.
- Carefully fold each tortilla in half, pressing edges with a spatula to seal.
- Place folded tortillas in the skillet, cooking for 2-3 minutes per side until golden brown and crisp.
- Transfer cooked quesadillas to a cutting board, let them rest for 1 minute, then cut into wedges.


